Skip to content
In the world of air frying, crispy is king! The secret? Preheating. It’s essential for making your Ninja Air Fryer deliver super crispy results on the outside while keeping your food juicy inside. Think of it as warming up before a big game – it gets everything ready to go. Let’s break it down and see how preheating can make your air frying experience even better!
Table of Contents

Why Preheating Matters
Even Cooking Distribution
Preheating ensures that every part of your Ninja Air Fryer’s cooking chamber reaches the ideal temperature before you start cooking. This guarantees uniform heat distribution, preventing cold spots and unevenly cooked areas. Every bite of your dish will be perfectly cooked and delicious.
Enhanced Crispiness
Preheating is crucial for achieving that perfect golden-brown crispiness. By preheating, your ingredients start cooking immediately in a hot environment, resulting in a deliciously crispy exterior while keeping the inside tender and juicy.
Time Efficiency
Preheating also helps reduce overall cooking time. By bringing the cooking chamber to the desired temperature before adding your food, you ensure it starts cooking immediately. This is especially useful for busy individuals or families looking to enjoy delicious meals quickly.

Step-by-Step Guide to Preheating Your Ninja Air Fryer
Step 1: Read the Manual
Familiarize yourself with your Ninja Air Fryer’s user manual. Each model may have unique features and recommended preheating procedures.
Step 2: Plug in and Power On
Connect your Ninja Air Fryer to a power source and turn it on. The control panel is user-friendly and intuitive.
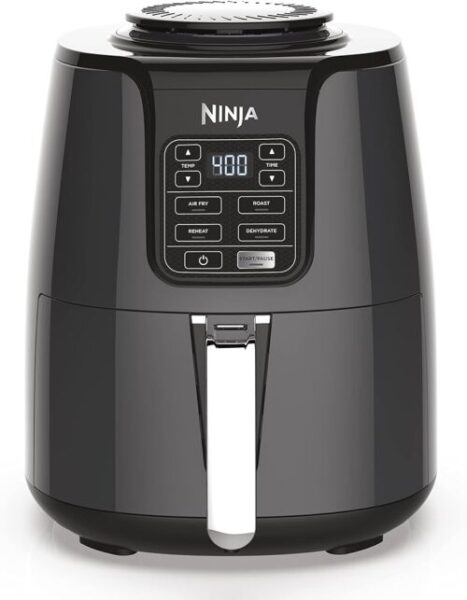
Step 3: Select the Desired Temperature
Set the temperature for your recipe. A range of 350°F to 400°F (175°C to 200°C) is generally suitable for most dishes.
Step 4: Set the Timer
Set the timer for 3-5 minutes to allow the air fryer to reach the desired temperature.
Step 5: Preheating Process
You may notice your air fryer generating heat and emitting a slight odor. This is normal as the heating elements adapt to the chosen temperature.
Step 6: Wait for the Ready Indicator
Wait for the ready indicator to signal that preheating is complete and the air fryer is ready for use.
Pro Tips for Optimal Preheating
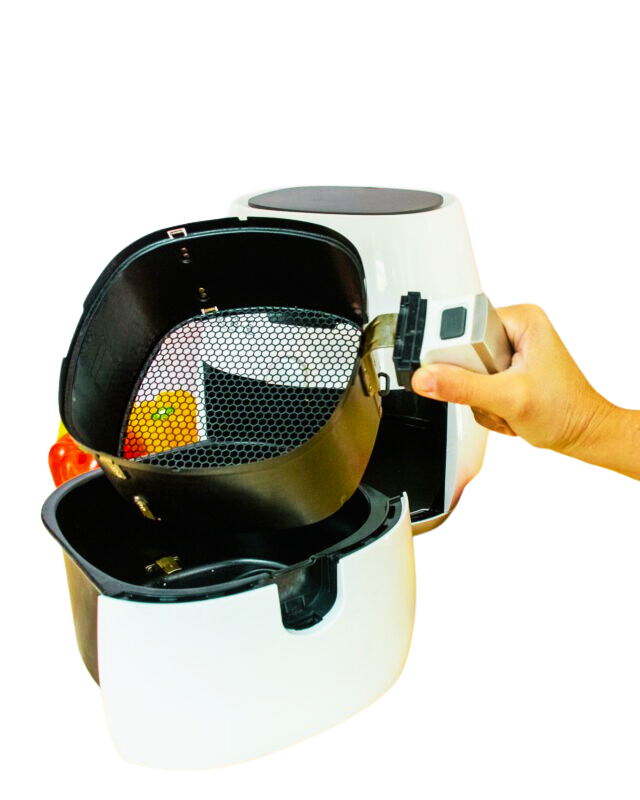
Preheat with an Empty Basket
For precise preheating, do so with an empty basket. This ensures the entire cooking chamber reaches the desired temperature.
Adjust Preheating for Specialty Recipes
Different recipes may require specific preheating temperatures. Adjust your settings based on the delicacy or heartiness of the dish you’re preparing.
Experiment with Preheating Times
While 3-5 minutes is a guideline, experiment with different times to see what works best for your preferences.
Leverage Preprogrammed Settings
Many Ninja Air Fryer models come with preprogrammed settings for popular dishes, including optimized preheating times and temperatures.
Troubleshooting Preheating Issues
Slow Preheating
Ensure the basket and tray are properly aligned and check for any obstructions that may impede airflow.
Inconsistent Temperature
Avoid overloading the basket to allow proper air circulation and even cooking.
Unpleasant Odor
A slight odor during initial uses is normal. Adequate ventilation should address this, and the odor should diminish with regular use.
Conclusion
Congratulations! You’re now equipped with the essential knowledge to master preheating your Ninja Air Fryer. By following these steps, incorporating pro tips, and troubleshooting any issues, you’re on your way to creating culinary delights with every meal.
For more expert tips, mouthwatering recipes, and the latest updates, keep a close eye on Quickfryer. Happy air frying! Your journey to culinary excellence has just begun, and we’re here to guide you every step of the way. Cheers to delicious and perfectly cooked meals!