Introduction
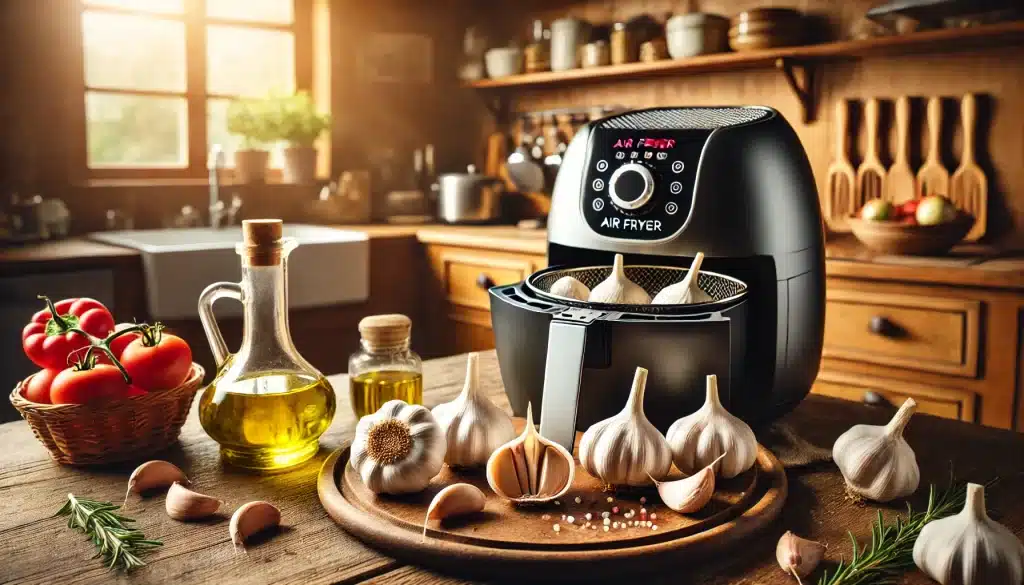
Garlic is a cornerstone ingredient in cuisines worldwide, offering a flavor spectrum from raw pungency to roasted sweetness. Among its culinary transformations, roasted garlic stands out as a delectable, versatile addition to countless dishes. While traditional roasting in an oven takes time and energy, the air fryer has revolutionized the process, delivering perfectly roasted garlic in a fraction of the time.
In this comprehensive guide, you’ll learn everything about roasting garlic in an air fryer—from why it’s a game-changer to detailed, step-by-step instructions. We’ll also explore its culinary applications, health benefits, and tips for storage and preservation.
Table of Contents
Recent Posts
What Makes Roasting Garlic in an Air Fryer Unique?
Efficiency and Speed
Unlike conventional ovens, air fryers use rapid air circulation to cook food faster. For garlic, this means quicker caramelization and evenly roasted cloves in under 25 minutes.
Energy-Efficient Cooking
Air fryers use less energy compared to preheating and running a full-sized oven, making them ideal for small-batch roasting.
Consistent Results
Thanks to even heat distribution, air fryers eliminate the guesswork, delivering beautifully roasted garlic with golden, tender cloves every time.
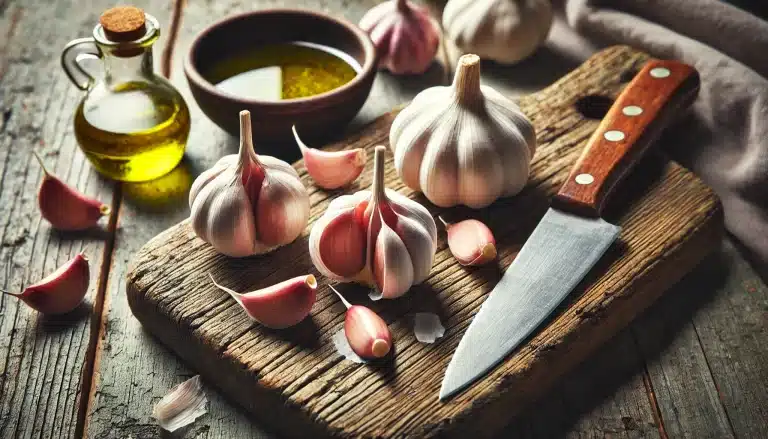
Ingredients and Equipment
Ingredients
| Ingredient | Quantity |
|---|---|
| Garlic bulbs | 1-4 bulbs (size of air fryer basket) |
| Olive oil | 1-2 tsp per bulb |
| Salt (optional) | A pinch |
Equipment
- Air Fryer: A standard model works well; basket or tray types are both suitable.
- Aluminum Foil or Parchment Paper: For wrapping garlic bulbs and retaining moisture.
- Sharp Knife: To slice off the top of each garlic bulb.
- Small Mixing Bowl (optional): For preparing oil and seasoning mixtures.
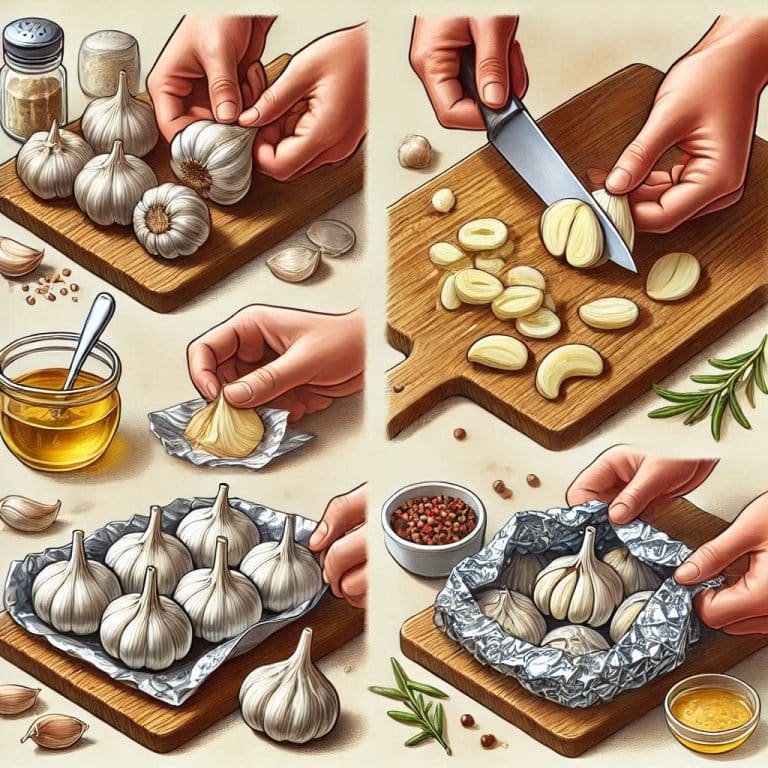
Step-by-Step Instructions: Roasting Garlic in an Air Fryer
Step 1: Preparation
- Remove Outer Skin: Peel away the loose, papery skin from the garlic bulbs, ensuring the cloves remain intact within the bulb.
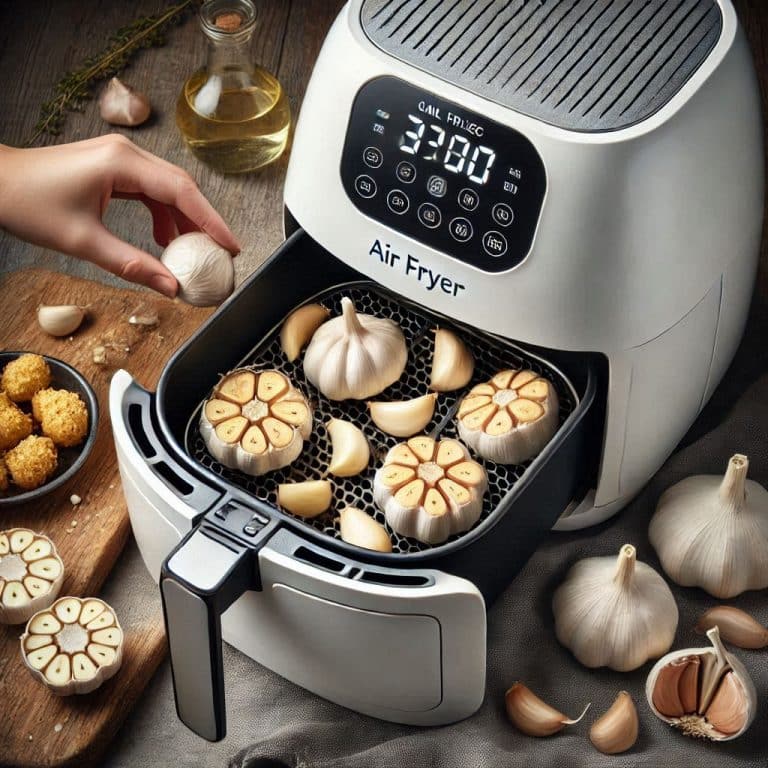
- Trim the Top: Slice about ¼ inch off the top of each garlic bulb to expose the cloves. This step allows oil to penetrate and ensures even roasting.
Step 2: Season the Garlic
- Drizzle with Olive Oil: Place each bulb on a square of aluminum foil. Drizzle 1-2 teaspoons of olive oil over the exposed cloves.
- Add Optional Seasoning: Sprinkle a pinch of salt or herbs like thyme for enhanced flavor.
Step 3: Wrap and Place
- Seal the Garlic: Wrap the garlic bulbs loosely in aluminum foil. This creates a mini steam environment for tender, caramelized cloves.
- Arrange in Air Fryer Basket: Ensure the bulbs are not overlapping for even cooking.
Step 4: Air Fry
- Set Temperature: Preheat the air fryer to 375°F (190°C).
- Cook Time: Roast for 20-25 minutes. Check for doneness at the 15-minute mark by gently pressing a clove; it should feel soft and tender.
Step 5: Cool and Extract
- Cool Slightly: Allow the roasted garlic to cool for 5-10 minutes before handling.
- Extract Cloves: Squeeze the bottom of the bulb to release the caramelized cloves or use a small spoon to scoop them out.
Tips for Perfect Air Fryer Roasted Garlic
- Choose Fresh Garlic: Opt for firm, plump bulbs with tightly packed cloves for the best results.
- Don’t Overcrowd: Air circulation is key in an air fryer, so avoid overcrowding the basket.
- Experiment with Flavors: Try infusing olive oil with rosemary, chili flakes, or lemon zest before drizzling over the garlic.
How to Use Roasted Garlic
In Everyday Cooking
- Spread on Bread: Mash roasted garlic onto crusty bread for an instant garlic toast.
- Stir into Soups: Add to soups like tomato bisque or lentil stew for a depth of flavor.
- Mix into Pasta Sauces: Blend roasted garlic into creamy Alfredo or classic marinara.
As a Condiment
- Garlic Butter: Whip roasted garlic into softened butter for a flavorful spread.
- Garlic Aioli: Blend roasted garlic with mayo, lemon juice, and olive oil for a gourmet dip.
- Pizza Topping: Dollop roasted garlic onto pizza for a sweet, caramelized twist.
In Meal Prep
Roasted garlic can be stored for future use, making meal prep a breeze. Freeze it in small portions to add to dishes as needed.

Health Benefits of Roasted Garlic
Roasted garlic is not just a flavor enhancer; it also offers numerous health benefits. The roasting process softens the intensity of raw garlic while retaining many of its nutritional properties.
1. High in Antioxidants
Garlic is rich in compounds like allicin, which have antioxidant properties. These compounds are preserved to a significant extent even after roasting, helping combat oxidative stress and inflammation in the body.
2. Supports Heart Health
Roasted garlic can help lower LDL cholesterol levels, improve blood pressure, and promote better circulation. While raw garlic is more potent in these effects, roasted garlic still contributes to cardiovascular health.
3. Boosts Immunity
Garlic has natural antimicrobial and antiviral properties. Adding roasted garlic to your diet can help strengthen your immune system, especially during cold and flu seasons.
4. Easier on Digestion
Unlike raw garlic, which can be harsh on sensitive stomachs, roasted garlic is gentle and easier to digest. This makes it a great option for those with digestive sensitivities.
5. Aids in Detoxification
Garlic contains sulfur compounds that support liver function and help detoxify the body. Roasted garlic is a milder way to reap these benefits.
How to Store Roasted Garlic for Maximum Freshness
Roasted garlic is a versatile ingredient that stores well, making it easy to incorporate into meals throughout the week. Here’s how to store it properly:
1. Short-Term Storage (Refrigerator)
- Method: Place roasted garlic cloves in an airtight container or wrap them tightly in plastic wrap.
- Duration: Keeps fresh for up to 7 days.
- Tip: Add a thin layer of olive oil over the cloves to prevent drying out.
2. Long-Term Storage (Freezer)
- Method: Freeze individual cloves on a baking sheet, then transfer to a freezer-safe bag or container.
- Duration: Stays good for up to 3 months.
- Usage: Defrost as needed or add directly to hot dishes.
3. Storing in Oil
- Method: Submerge roasted garlic cloves in olive oil and store in a sealed jar in the fridge.
- Duration: Use within 2 weeks to prevent spoilage.
- Safety Note: Do not store garlic in oil at room temperature, as this can encourage bacterial growth.
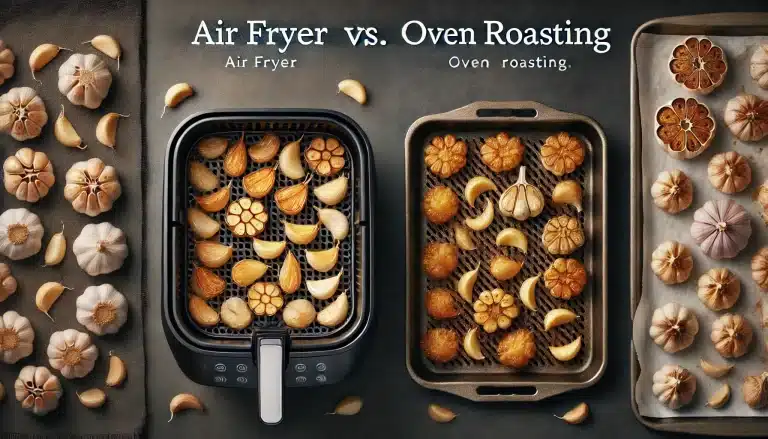
Comparing Air Fryer to Oven Roasting
If you’re wondering how air fryer roasted garlic stacks up against traditional oven-roasted garlic, here’s a detailed comparison:
| Feature | Air Fryer Roasting | Oven Roasting |
|---|---|---|
| Time | 20-25 minutes | 40-60 minutes |
| Energy Efficiency | Uses less energy | Higher energy consumption |
| Texture | Even caramelization, tender cloves | Slightly more control over texture |
| Convenience | Easy setup, faster cleanup | Requires preheating and more cleanup |
| Batch Size | Limited by basket size | Larger batches possible |
Why Choose Air Fryer?
The air fryer is perfect for small batches, quick preparation, and consistent results. It’s ideal for those who cook for one or two people or need roasted garlic on demand.
Creative Recipes Using Roasted Garlic
1. Roasted Garlic Mashed Potatoes
Ingredients:
- 1 head of roasted garlic
- 2 pounds of potatoes
- ½ cup milk
- ¼ cup butter
- Salt and pepper to taste
Instructions:
- Peel and boil potatoes until fork-tender.
- Mash the potatoes, then mix in roasted garlic, milk, butter, salt, and pepper.
- Serve warm for a comforting side dish.
2. Roasted Garlic Hummus
Ingredients:
- 1 can chickpeas
- 1 head roasted garlic
- 2 tbsp tahini
- 2 tbsp olive oil
- Juice of 1 lemon
- Salt to taste
Instructions:
- Blend chickpeas, roasted garlic, tahini, olive oil, and lemon juice in a food processor.
- Adjust consistency with water or olive oil.
- Garnish with paprika and a drizzle of olive oil before serving.
3. Creamy Roasted Garlic Pasta
Ingredients:
- 1 head roasted garlic
- 1 cup heavy cream
- 2 tbsp butter
- 1 cup grated Parmesan cheese
- Pasta of choice
Instructions:
- Cook pasta according to package instructions.
- In a skillet, heat butter and add roasted garlic, mashing it into a paste.
- Stir in heavy cream and Parmesan until smooth. Toss with cooked pasta and serve.

How to Roast Garlic in Air Fryer Recipe
Equipment
- Air Fryer
Ingredients
- 2 bulb Whole garlic bulbs
- 2 tbsp Olive oil
- as needed Aluminum foil
Instructions
- Prepare the Garlic: Trim about 1/4 inch off the top of the garlic bulbs to expose the cloves. Place the bulbs on a sheet of aluminum foil.
- Prepare the Garlic: Trim about 1/4 inch off the top of the garlic bulbs to expose the cloves. Place the bulbs on a sheet of aluminum foil.
- Wrap the Garlic: Wrap the garlic bulbs securely in aluminum foil, creating a sealed pouch. This traps steam and enhances the roasting process.
- Preheat and Roast: Preheat the air fryer to 375°F (190°C). Place the foil-wrapped garlic in the basket and roast for 20-25 minutes until the cloves are soft and golden.
- Cool and Use: Allow the garlic to cool for a few minutes, then gently squeeze out the roasted cloves. Use immediately or store for later.0
Notes
Frequently Asked Questions
Q1: Can I use pre-peeled garlic?
Yes, pre-peeled garlic works well. Toss the cloves in olive oil, wrap them in foil, and air fry at 375°F for 15-20 minutes.
Q2: What if I don’t have aluminum foil?
You can use parchment paper as an alternative. Simply fold the edges to create a pouch around the garlic.
Q3: Why is my roasted garlic burning?
Burning can occur if the air fryer temperature is too high or if the garlic is exposed. Lower the temperature slightly or ensure the garlic is fully wrapped.
Q4: Can I roast garlic without oil?
While possible, using oil enhances caramelization and prevents the garlic from drying out.
Conclusion and Call-to-Action
Roasting garlic in an air fryer is a quick, easy, and energy-efficient way to elevate your cooking. Whether you’re spreading it on toast, blending it into sauces, or adding it to soups, roasted garlic is a kitchen staple that transforms ordinary meals into extraordinary dishes.
Have you tried roasting garlic in your air fryer? Share your experience and favorite recipes in the comments below! Don’t forget to explore more air fryer tips and tricks on our blog.

